
Audio Compression Controls
Feb 15
/
Max Porcelli
Welcome back!
Let's now talk about Audio Compression Controls.
We already know why we use Audio Compression and when.
Now, depending on the compressor type, we may find or not have different controls.
Let's check them out.
Let's now talk about Audio Compression Controls.
We already know why we use Audio Compression and when.
Now, depending on the compressor type, we may find or not have different controls.
Let's check them out.
Input Gain
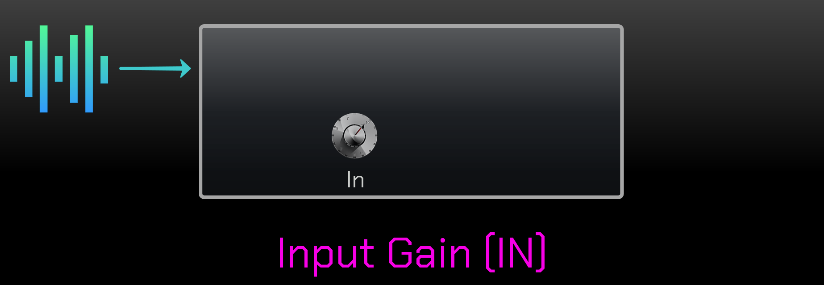
Let's start with the input gain.
This control sets the operating input level of the compressor.
Many plugins emulates the original hardware and they work better with a maximum input level of zero dB VU.
So, always remember to check how hard you can hit a compressor before any processing. Or maybe you want to intentionally hit it hard to use it as a Tone Box.
So, always remember to check how hard you can hit a compressor before any processing. Or maybe you want to intentionally hit it hard to use it as a Tone Box.
Gain Reduction
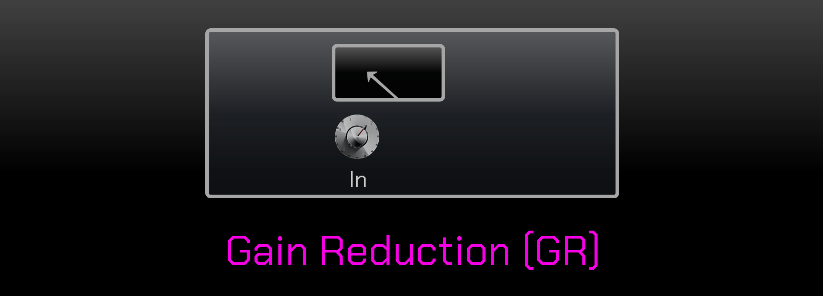
Sometime simply referred as GR, it indicates the amount of compression we apply to the audio.
While mixing, typical gang reduction values are around 2 to 4 dB or even more.
Instead, while mastering, you should never exceed 2 dB of gain reduction.
Usually the gain reduction is shown on a meter or via some LEDs.
Threshold
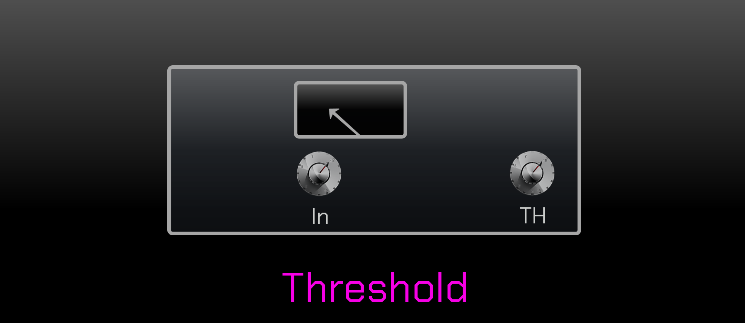
The threshold level tells the compressor when to actually start the compression.
Signals above the threshold will engage the compression while everything below the threshold will not be compressed.
If you want to glue tracks together, a low threshold is what you need because most of the signal will be below the threshold thus compressed.
Write your awesome label here.
Write your awesome label here.
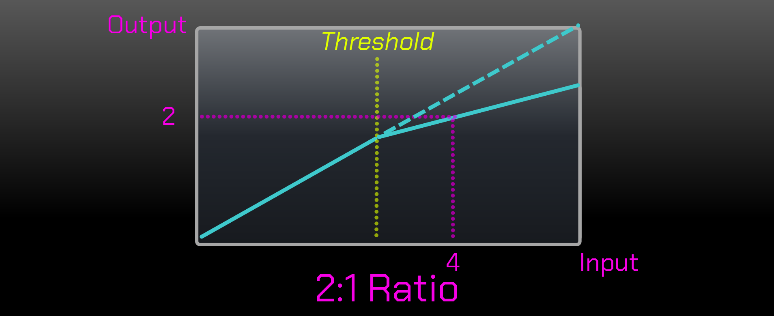
Ratio

The ratio tells the compressor how hard to compress the signal once it passes the threshold.
Low ratios like 2:1 will be more subtle, while higher ratio 4:1 or 10:1 and above are much more noticeable.
A 2:1 ratio means for every 2 dB above the threshold, the compressor returns 1 DB.
So if the input is 4dB, the compressor will return 2 dB.
Or 4:1 ratio means for every 4 dB above the threshold, the compressor returns 1 dB. So. if the input is 8 dB, the compressor will return 2 DB.
A 1:1 ratio means no compression at all.
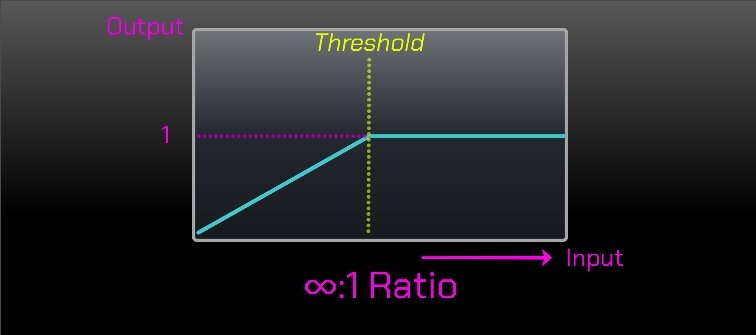
Instead, an ∞:1 ratio (or even 10:1) sets the compressor as limiter, because no matter the input signal amount, the compressor will always output 1 dB.
Remember that too much ratio can suck the life out of a performance and push it back in the mix.
Common ratio values while mixing may vary from 2:1, 4:1 and limiting while during the mastering process, you may even compress with values from 1,5:1 but usually 2:1.
But, in a mastering chain, a limiter is very often at the final stage of the entire signal path.
Attack Time
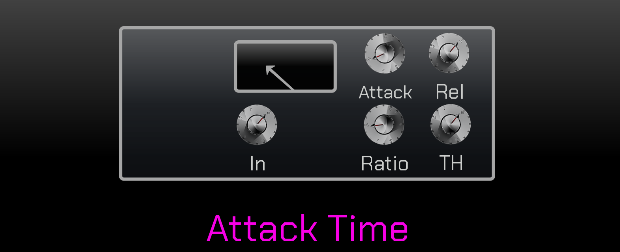
Let's now talk about the attack and release controls also known as time constants.
The attack time tells the compressor how quickly to compress the signal as long as it passes the threshold. From a proximity effect, the attack time sets the front back position for a recording.
Fast Attack Time
If the attack time is fast, the recording will be pushed back in the mixer and the compressor will shave off the initial transients. Which is good if you need to tighten up a recording, but be aware that an attack time too fast can generate a lifeless sound.
Slow Attack Time
While if the attack time is slow, the recording will be pushed more forward and will let more transients and impact to come through giving more punch. But on the other hand, it's not a good setting if you need to control dynamics and tame peaks.
Release Time
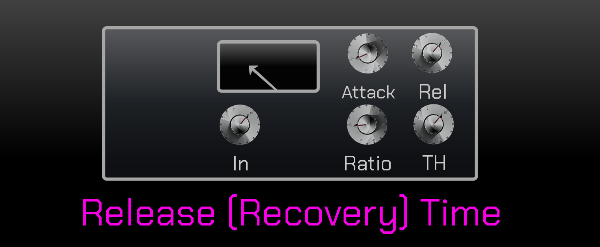
After the signal is passed below the threshold, the release or recovery control sets the amount of time the compressor takes to return to a 1:1 ratio, meaning a non compressing state.
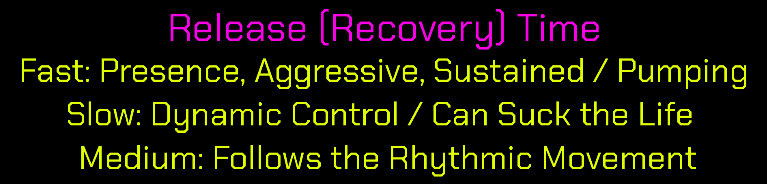
Fast Release Time
If the release is too fast, you will add dynamic and presence to your mix and a more aggressive sound with more initial sustain.
Be careful because unless you are not intentionally doing so, a faster release time can cause the so called pumping or audible compression effect. For example, the electronic genre loves this type of effect, but not the rock matter or pop music.
Slow Release Time
While if they release time is too slow, you have more dynamic control over your sound. The compressor keeps the audio compressed for a longer time and the audio sounds smoother, but can also suck the life out of a performance.
Medium Release Time
A medium recovery time is used to follow the rhythmic movement of the recording, making the compressor dance to the music. The secret is setting the release time so the needle returns to a zero gain reduction level (or just before 0) before the next kick hit.
So generally speaking:
Faster Attack and Release Times will give you more aggression, grit and loudness,
Slower Times will sound smoother and more controlled.
MakeUp Gain
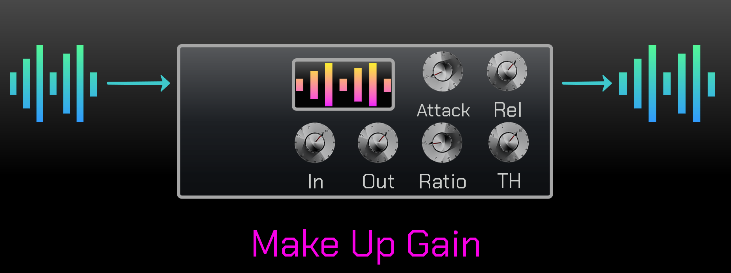
The Makeup Gain or Output Gain adds back all the gain reduction of the compression process so that the output signal is as loud as it was before the compression.
Setting the correct gain compensation is crucial because our ears believe that louder is better. So by using the make up game, we have the possibility to compare before and after the compression at the same volume.
For example, if we compress a signal by 3 dB, we need to increase the make up gain roughly by 3 dB.
You will then be able to compare the differences before and after the compression and, very important, at the same perceived loudness.
And now let's have a look at some other controls that you may find or not in a compressor by starting with the side chain filter.
Side Chain Filter
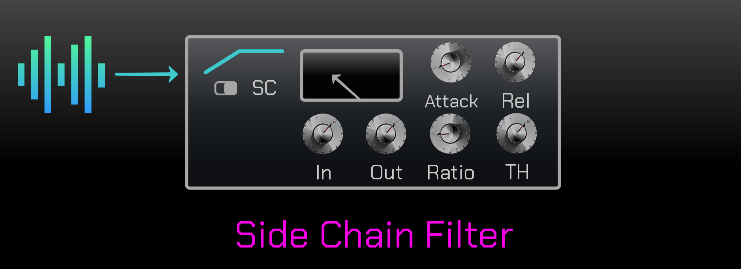
We know that the lower the frequency, the higher the energy. Kick and Bass, for example, may trigger your compressor before any other audio element of your song.
Usually set as a high pass filter, this sidechain filter allows you to tell the compressor what to ignore from the input signal and how much to ignore the lowest audio frequencies, making the compression more transparent and less reactive to lower frequencies.
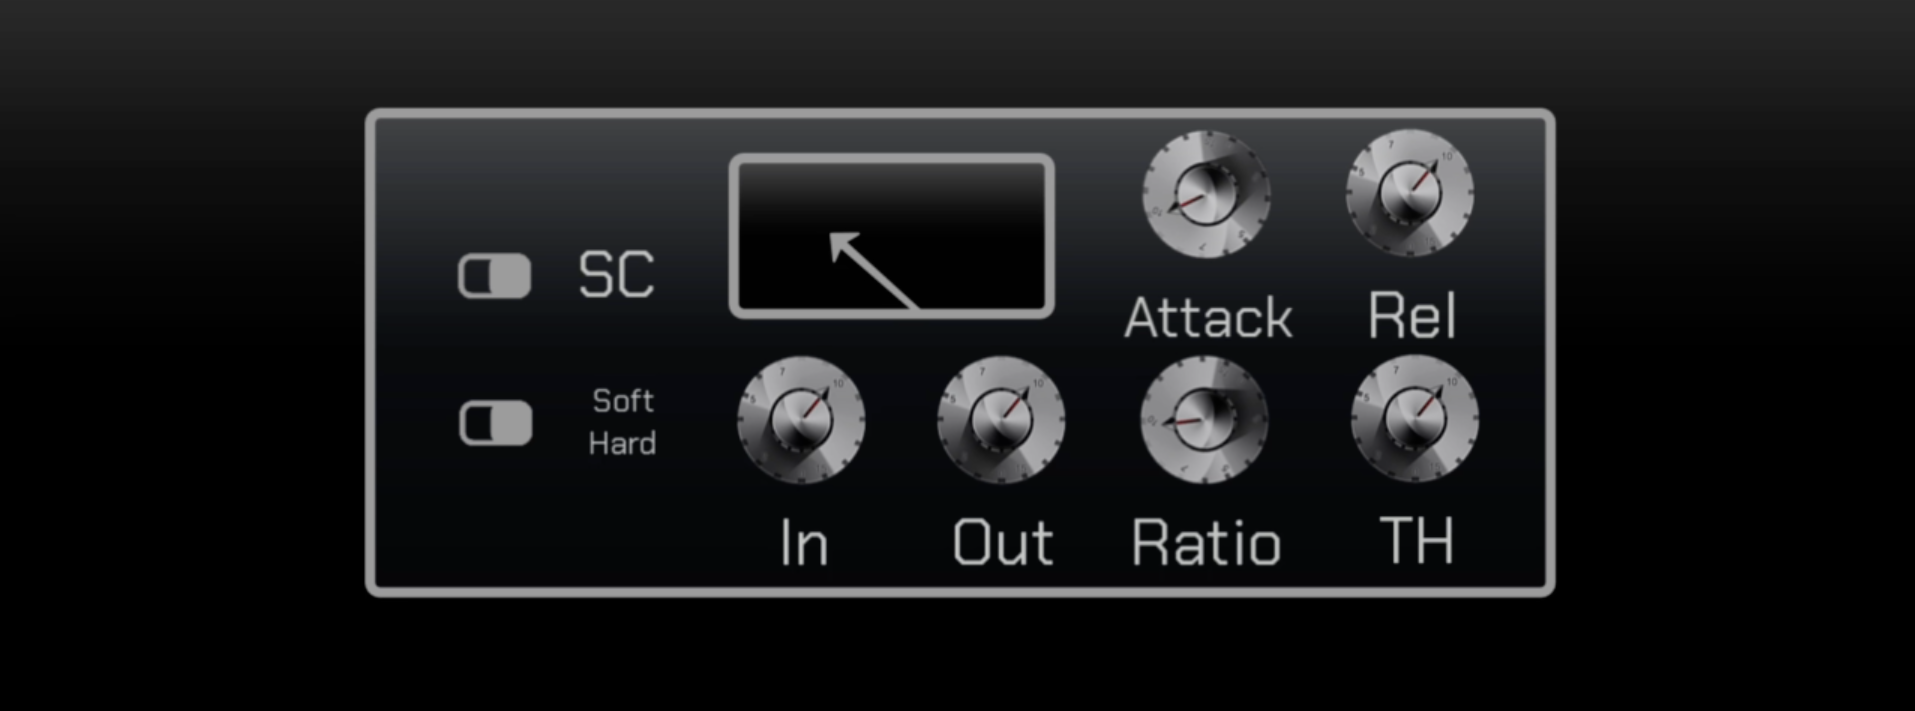
Soft and Hard Knee
Soft
Soft Knee
Hard
The last control we are going to see now is the knee that is the point where the compression begins.
It could be soft looking like a curve where the compression begins with a lower ratio even before the signal reaches the threshold or hard looking like an angle where the ratio determines how steep this angle is.
With the hard knee, the compression becomes very easy to hear because it starts as far as the signal passes the threshold, no matter the ratio.
Okay, cool!
Great! We have just seen the basic compressor controls and settings.
Now it's time to practice and enjoy!
If you would like to understand something more about compression, check some related posts here below
Now it's time to practice and enjoy!
If you would like to understand something more about compression, check some related posts here below
Suggested Readings
Set Compression Goals
Feedback and Feedforward Compressors
Compressor Types and Applications
Audio Compression Controls
Why do we use Audio Compression?
Now Practice and Enjoy!

Stay Current on the Latest News
And Receive Exclusive Deals, Discounts, and new Courses Available in the Academy. Subscribe Now.

Get 350+ Free Samples
Subscribe to Download our Exclusive Royalty Free Samples Pack, Deals, and Offers from HTMEM.
Invitation Sent
👉 Check your Email to download your stuff.
© Copyright 989 Records
All Rights Reserved
Via T. Donadon 8
33170 Pordenone (Italy)
VAT IT01593870932
All Rights Reserved
Via T. Donadon 8
33170 Pordenone (Italy)
VAT IT01593870932
Courses


Get 350+ Free Samples
Subscribe to Download our Exclusive Royalty Free Samples Pack, Deals, and Offers from HTMEM.
Invitation Sent
👉 Check your Email to download your stuff.
Created with